SafePal Software Wallet provides the safest, quickest, and most convenient way to trade, store and manage your crypto assets especially within DeFi.
This is a guide to teach users how to create a SafePal Software Wallet within the SafePal Wallet App. The guide will cover the basics on how to create a software wallet, receive coins and tokens within the SafePal App as well as adding coins into your SafePal App for viewing. Users can download the SafePal App via this link.
Step 1: Download & Install the SafePal Wallet Application
The first step is to download a SafePal App from the provided link. SafePal offers both a hardware and software wallet solution and the SafePal app is available for both Android and IOS users.

Step 2: Setup the SafePal App
After downloading the SafePal App from the App Store via Android or IOS, users can open the app and create a software wallet.
This will be the first page a new user sees upon opening the SafePal App for the first time.
Simply select Create Wallet (Highlighted in the red box)
Next, you will be lead to the following page, once again simply select Next (Highlighted in the red box)
The next page will request users to create a password for their SafePal App
After the security password creation users will then be asked to create a pattern password as an extra layer of security for their crypto assets.
Once the security password and pattern password has been created then you have officially completed the first step towards setting up a Software Wallet on the SafePal App.
To start our SafePal journey, we must first create a Software Wallet on the App.
Step 3: Create a Software Wallet
This is done by selecting Create Wallet once again, except this time a security password request will appear. Please enter the security password that you have just created.
The following step afterward involves naming your new Software Wallet and selecting the number of mnemonic phrases you wish to use. In this case, we will name the Software wallet SafePal and set the number of mnemonic phrases to 24. Afterward click Next

The new Software Wallet is now created however please backup your mnemonic phrase by selecting the Back up my phrase button and agreeing to all the notices.
Once users have successfully backed up your mnemonic phrases, the Software Wallet is now ready for SAFE use. You can check to see if the wallet has been successfully created by selecting the address tab highlighted in red on the upper left corner.

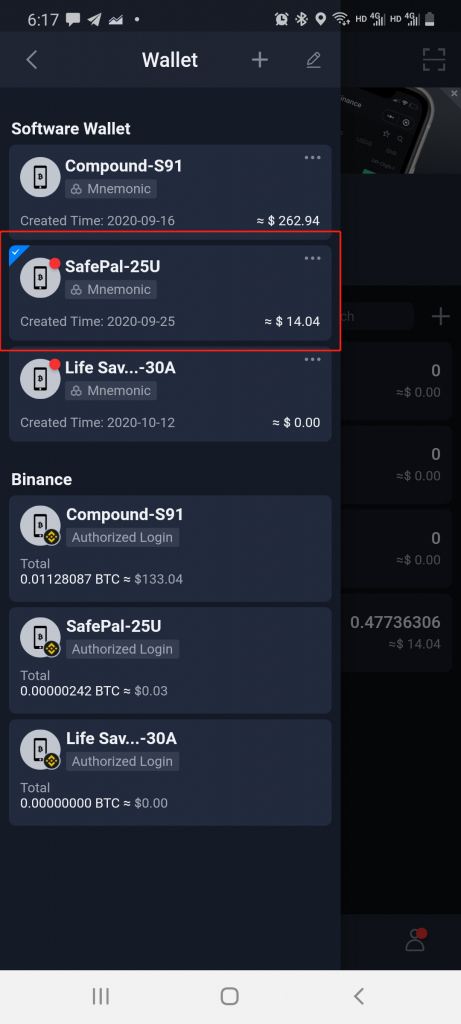
Step 4: Transfer Crypto Assets into your SafePal Software Wallet
The next step is for users to transfer ETH into their Software Wallet Account as ETH is essential for participation within DeFi Protocols because of the GAS fee required to confirm transactions.
Therefore as an example, we will first send some ETH from the Wallet Coin Management page.
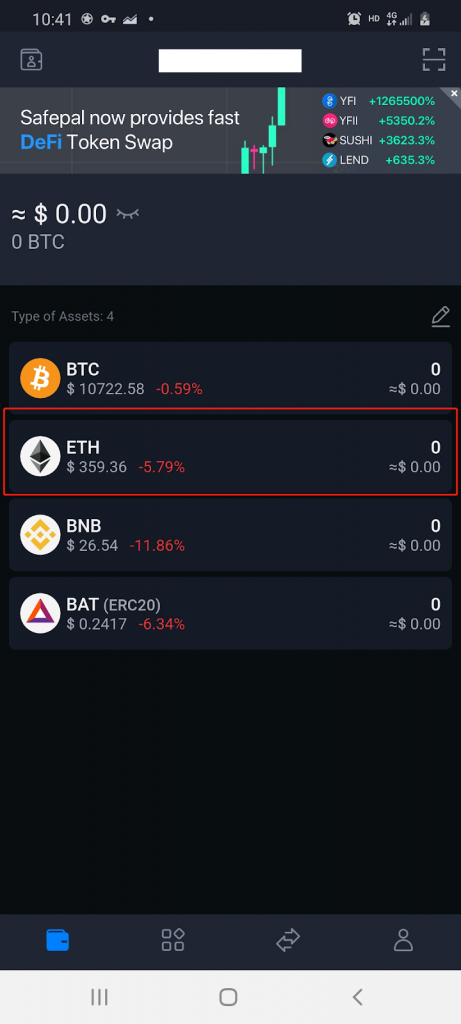
Once users have selected ETH, they will then be sent to the ETH Wallet Detail page.

This page will provide all necessary transaction details that has occurred via the users ETH within their respective wallet.
Next users must select Receive to send ETH into their Software Wallet, this will lead users into the ETH Receive page. Users can now send their ETH to the provide Software Wallet address.

Step 5: Add Other Coins/Tokens onto your Software Wallet Display
However, if you do not wish to receive ETH and would like to send and receive other coins or tokens. For example, if you wish to provide liquidity using other pairings for your DeFi protocol such as BAT. You must first add BAT to your wallet coin management page by selecting the pencil icon (highlighted in red).
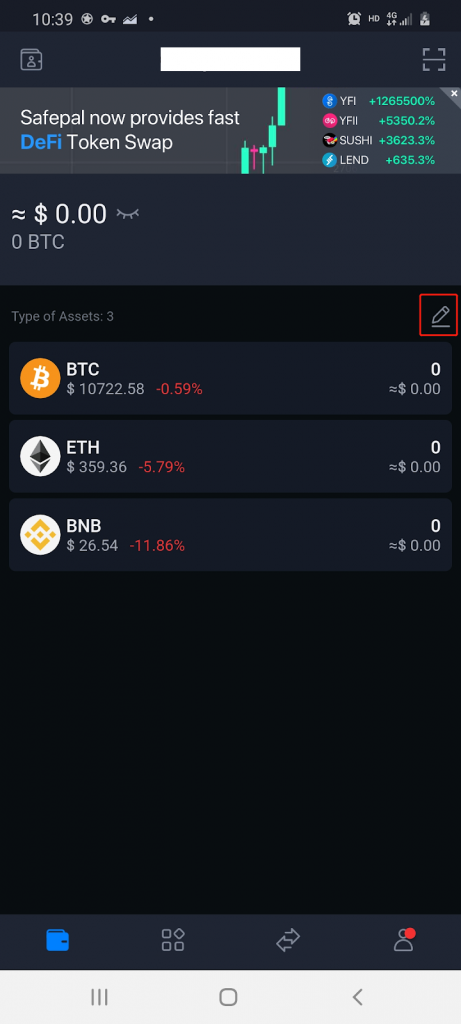
This will allow users to access the coin management page where users can add any SafePal supported coins and tokens to their Software Wallet. In this case, we will be adding BAT tokens.
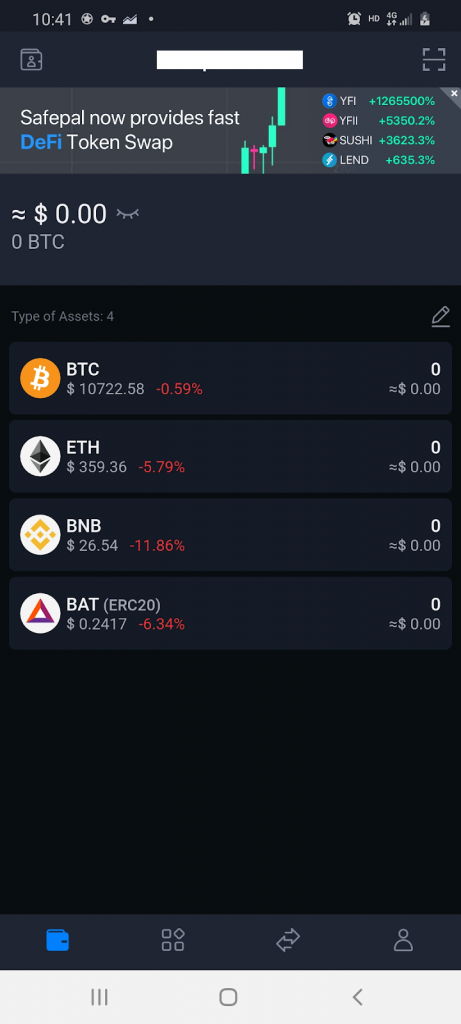
After adding BAT tokens, users will now be able to see it being displayed within the Wallet Coin Management Page.
This covers the basics with regards to setting up a software wallet in the SafePal App. We hope that this guide was helpful in providing guidance to your SafePal journey. Please follow us on Twitter for the latest updates.


